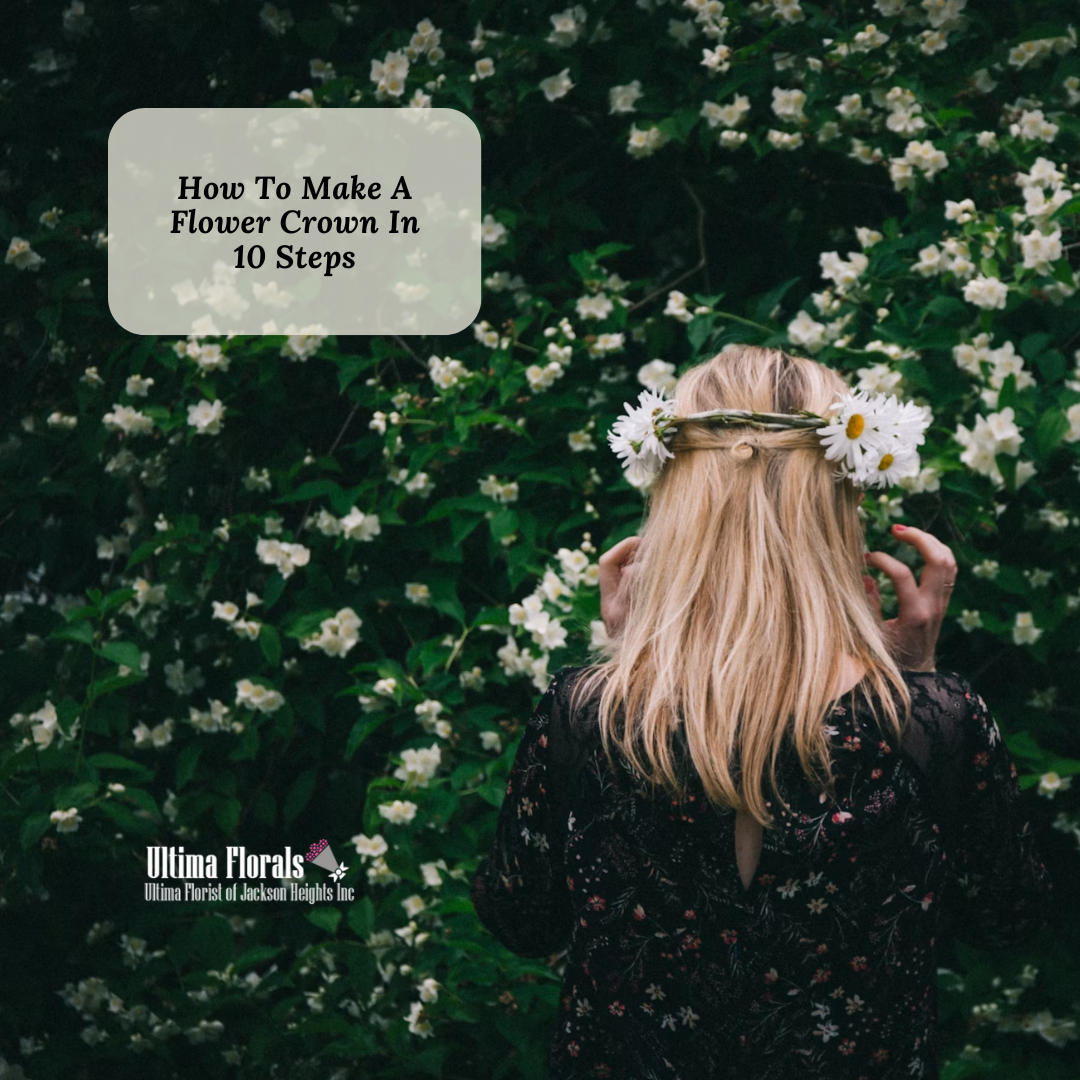
How To Make A Flower Crown In 10 Steps
Creating your flower crown is not only cost-effective but also gives you the full freedom to customize it with your favorite greenery and flowers. In this blog, we are going to give you a step-by-step guide to making a stunning flower crown in just 10 simple steps.

Flower crowns are a very beautiful and timeless accessory that has the power to elevate any of your looks, whether for a wedding, festival, or just a casual day out. Creating your flower crown is not only cost-effective but also gives you the full freedom to customize it with your favorite greenery and flowers. In this blog, we are going to give you a step-by-step guide to making a stunning flower crown in just 10 simple steps.
Step 1: Gathering Materials
Before starting, the first and foremost thing you should do is gather all the necessary materials, which you can also get conveniently with our flower delivery Queens NY. You are going to need:
- Fresh flowers and greenery
- Floral wire
- Floral tape
- Wire cutters
- Scissors
- Ribbons
One more thing, remember to pick sturdy blooms that won’t wilt quickly. You can go with options like roses, daisies, and Baby Breathe. Moreover, a combination of roses and daisies is best for bridal flower crowns.
Step 2: Measurements
Now we come to the point where your crown is customized totally for you. Using the floral wire measure around your head where you want the crown to sit. Leave a little extra wire at the end so you can twist them together. This is going to form the base of the crown.
Step 3: Make the base
Now, use the floral wire to the measured length and add an inch. Twist them together to form a circular base. You can also double the wire for improved stability. Coming to the next step you need to keep your flowers ready, for which you can always buy them from our local flower shops in Forest Hills NY.

Step 4: Prepare the blooms
Cut the flowers you have picked, leaving about 2-3 inches of stems. Remove any excess leaves from the stems. This will help you to group your flowers and greenery by type to make the assembly process smoother. And if you are having problems with this you can always consult our best florist in Queens NY.
Step 5: Attach Greenery
Now start by adding greenery to the wire base with the help of floral tape. Then wrap the tape around the stems and the wires, ensuring that they are attached securely. The greenery is going to act as a base for the flowers and add volume to your crown. Also, some white and green is going to make a good floral crown wedding themed crown.
Step 6 : Add the focal flowers
Now choose the larger flowers as focal points and then start attaching them to the base. Then place them evenly around the crown while securing each stem with floral tape. Also, remember to ensure that the flowers are facing outward and spaced apart to make a balanced look.
Step 7: Fill in the smaller flowers
Once you are done with the base and focal flowers, go on with filling in smaller spaces with small blooms. This will not only add more volume but also texture to your crown. Also, remember to use floral tape to secure each of their stems to the base.
Step 8: Add more greenery
After attaching all the flowers you want to your crown, fill in the remaining gaps with more greenery. Again, make sure that everything is taped together securely.
Step 9: Secure the ends
Now to finish your crown twist all the ends of floral wire together and tuck them under the flowers. And then you can wrap the ends with floral tape and ensure that there are no sharp edges. If you want, you can tie a ribbon around the ends for added comfort. Also, ribbons are a good addition to a wedding flower crown for the bride.
Step 10: Final adjustments
Once everything is assembled, go on and make the final adjustments. You can rearrange or add more flowers if you want. But, keep in mind everything is secure and comfortable.
Conclusion
Making a flower crown is a fun and rewarding DIY project that allows you to express your creativity. With these 10 easy steps, you can make one very easily. Moreover, if you want some of the best flower crowns you can come to Ultima Florists. Visit our website to check out our full flower collection.
Recent Posts
Year : 2025
Year : 2024
Year : 2023
Year : 2022

